|
Hello! I am back and it's time to cut the soap. It came out SO dark. That's the fun thing about soap (and sometimes not so fun) but in this cause I'm happy because this soap looks like food and smells like it too. Now had I used blue to make "water" like a beach scene soap and it turned pink I would not be so happy. 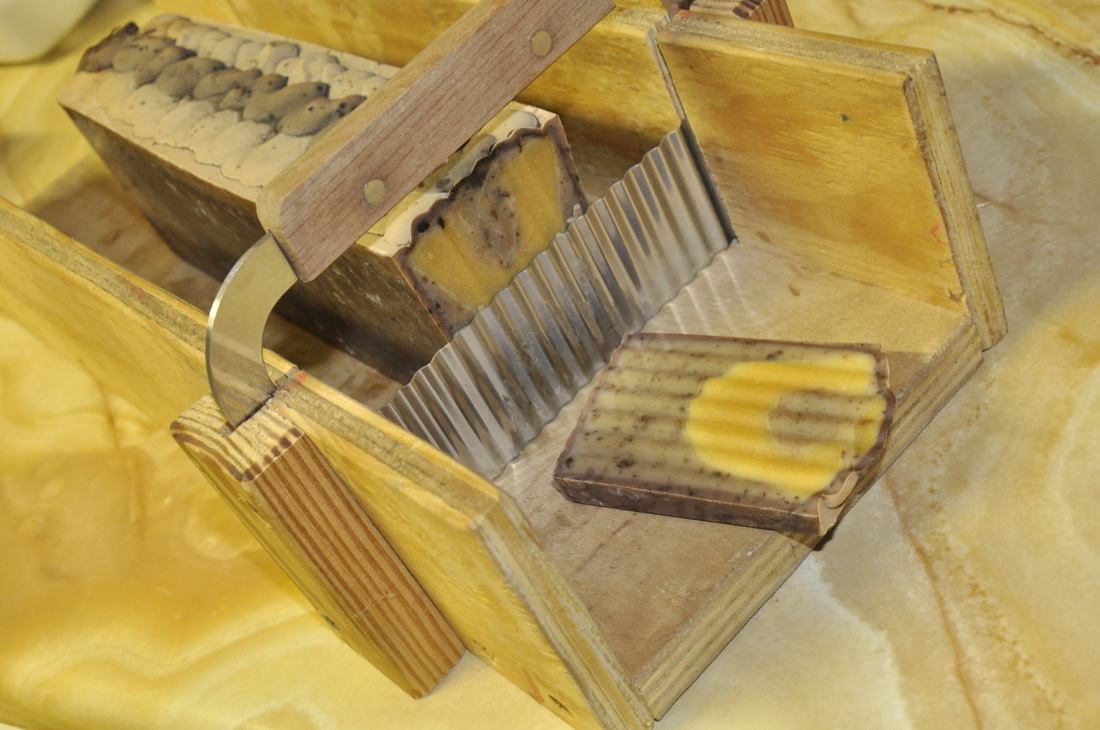 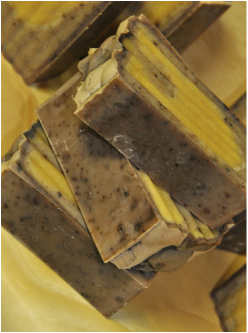 I decided to go with the crinkle cutter, my cutter is homemade and I have a crinkle blade and a smooth blade. Since this soap had walnut hull in it I chose the crinkle blade to help hid any "drags", that is when your blade gets stuck on something like a flower petal (or any additive) and it slides it down as it chops the soap and leaves a ugly crease down the bar. 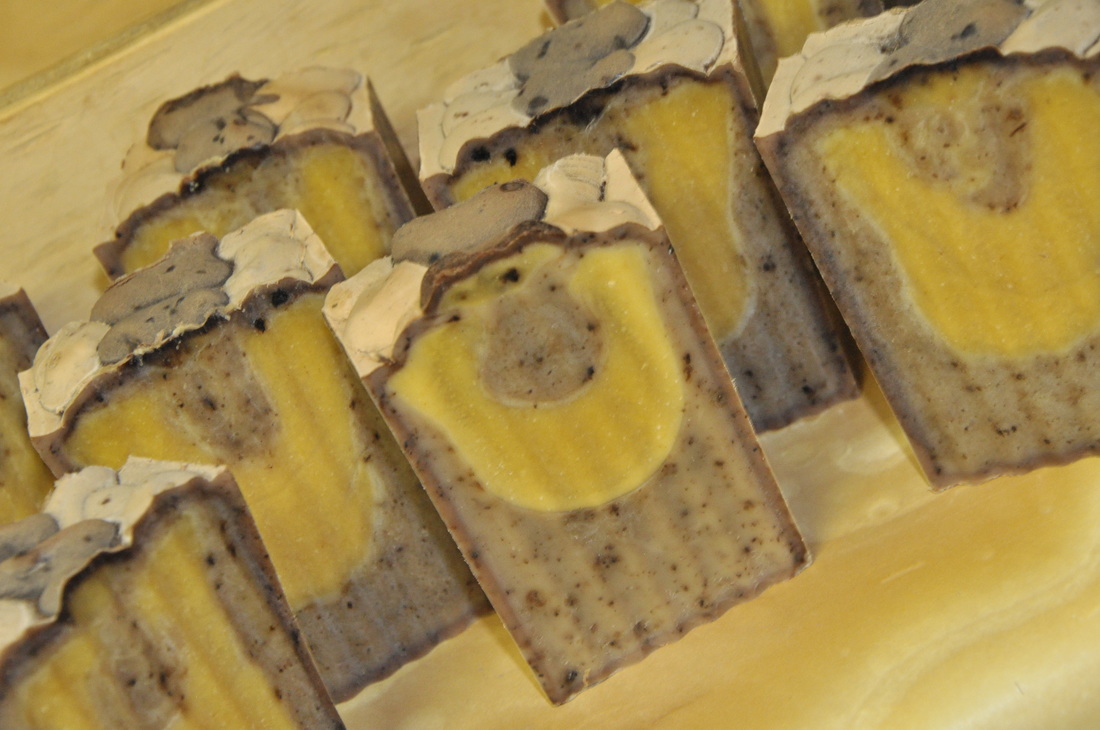 YUMMY, YUMMY, YUMMY, I want to eat you. One perk of soap making is the house smells wonderful. After cutting the soap into bars I put it in a cardboard box, I space the bars to let air flow around them. If you are making a large amount of soap it would be nice to have a rack to let them cure on. I used to have a rack but I don't make that much soap anymore. I am hiding these in a box because I have cats and these are for Christmas, no one wants a fur covered soap for Christmas.......except Mom, back when I made soap a lot she would come over and "drop" one accidentally and then assume she could have it because it had dents or dirt or other unwanted things......Soap Thief!
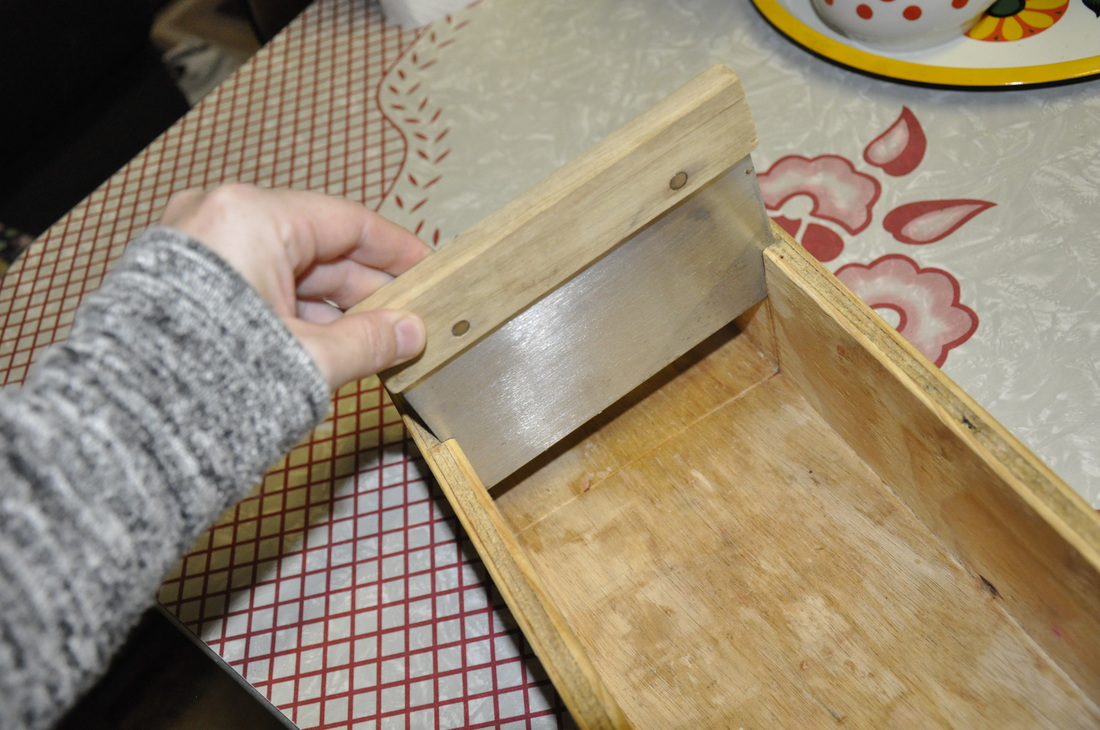
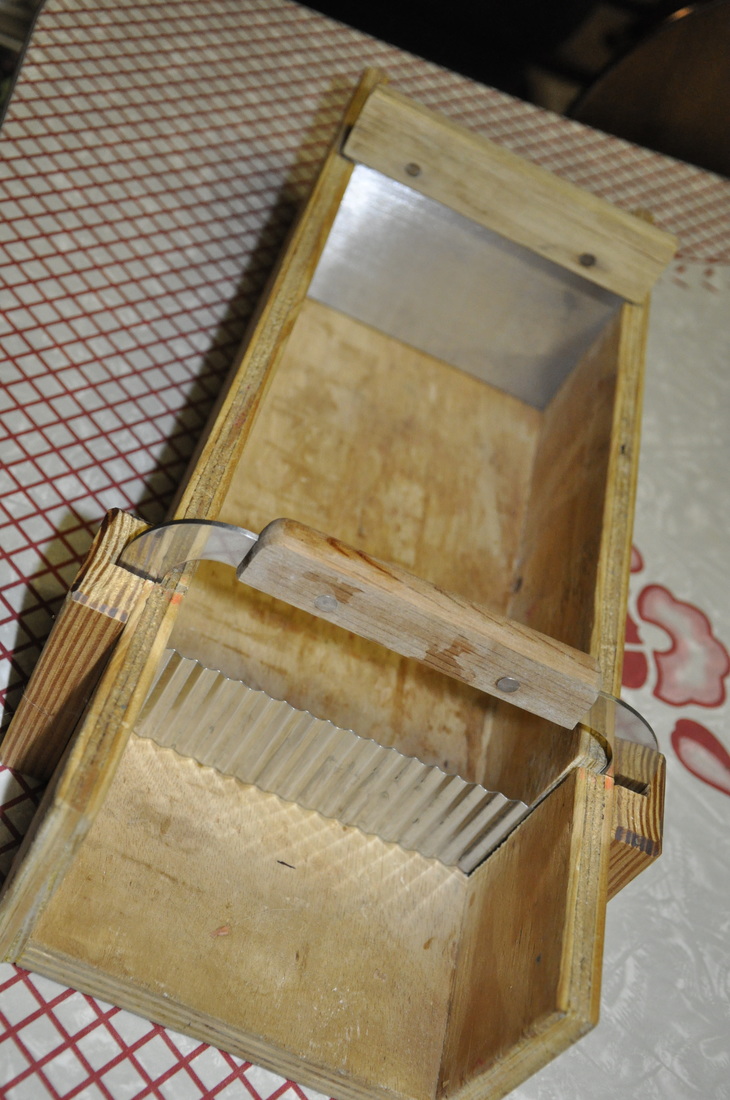
A soap cutter is pretty basic, you need a bottom board and 2 side boards. If your blade has a handle make sure the box is shorter than the height of the handle. Main thing is these little grooves for your blade to slide down in, it keeps your cut straight. That's all there is to it. 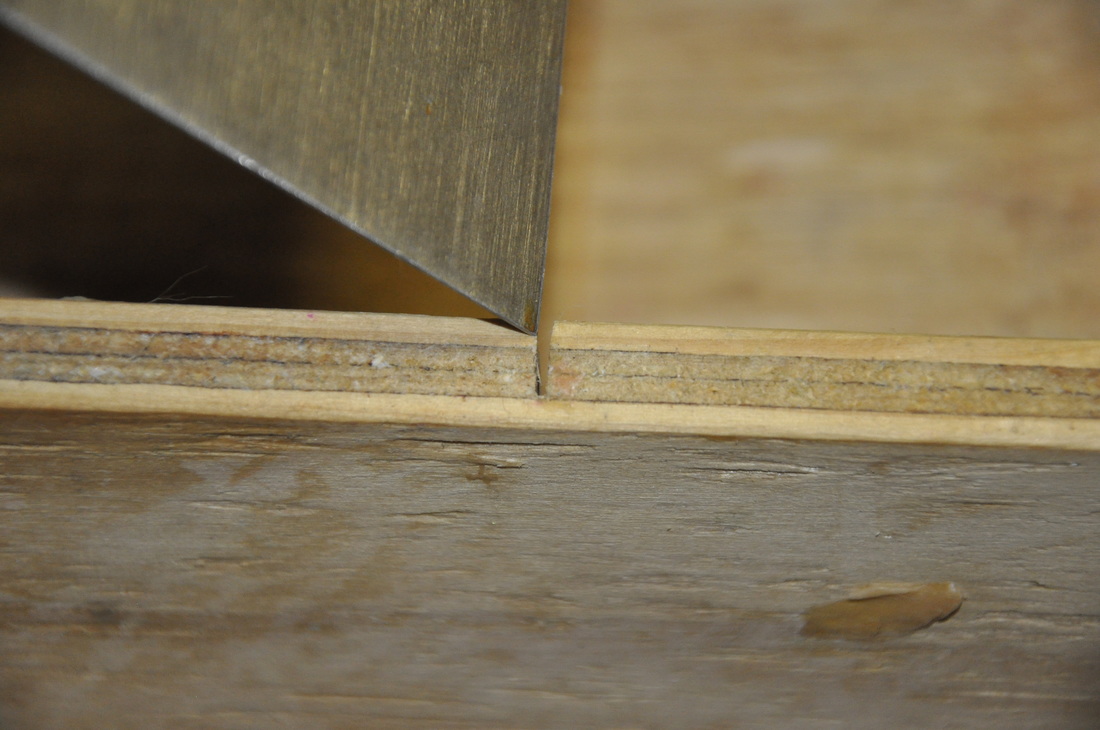
0 Comments
Leave a Reply. |
Archives
March 2016
Categories |
 RSS Feed
