|
Before and after, I love to find crappy chairs because I make them pretty. I don't like for my chairs to match anyway! 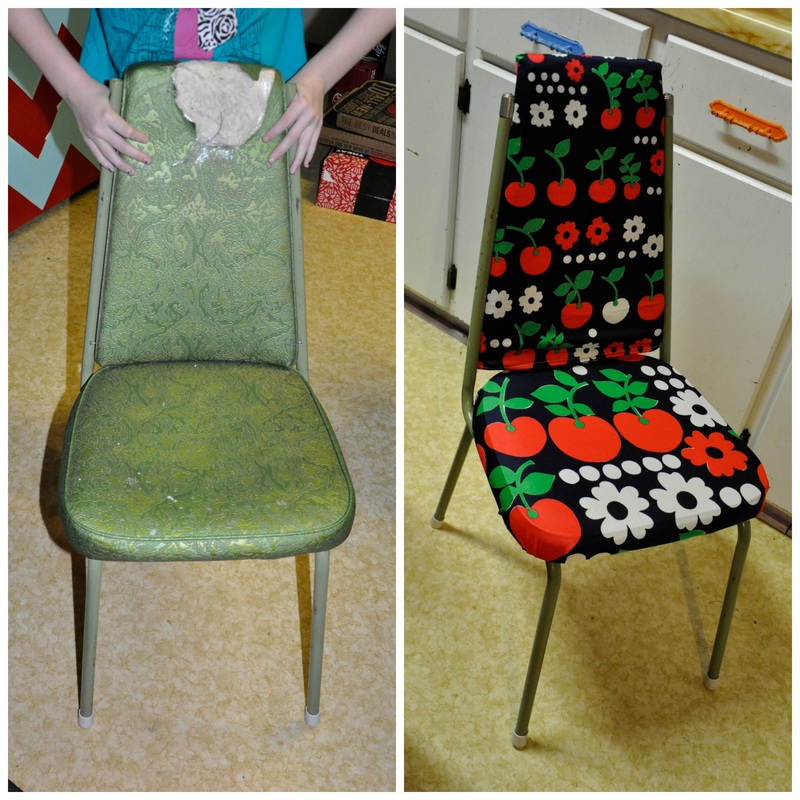
0 Comments
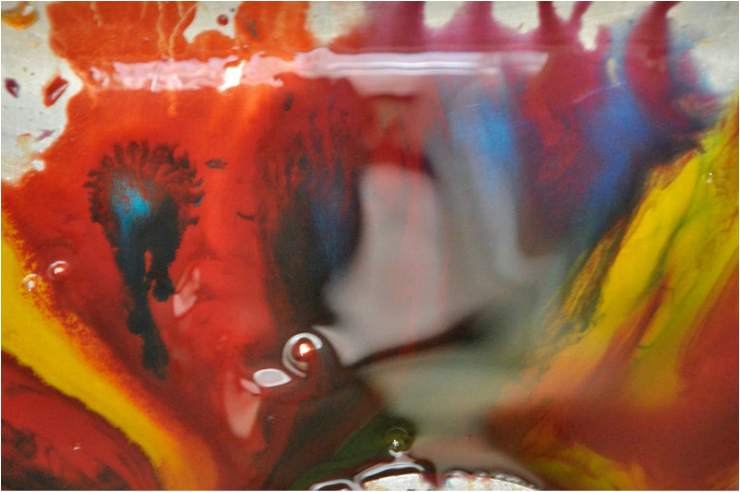 Rit Dye is not the best dye but it's what I have on hand so here goes! 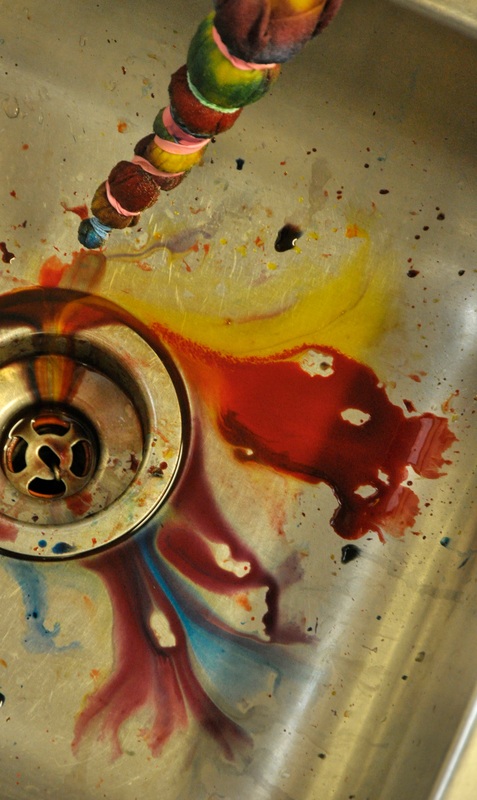 I wrapped my shirt with rubber bands, I did not get it wet until after. Once I have it all wrapped up I ran hot water over it and rung out all that I could. 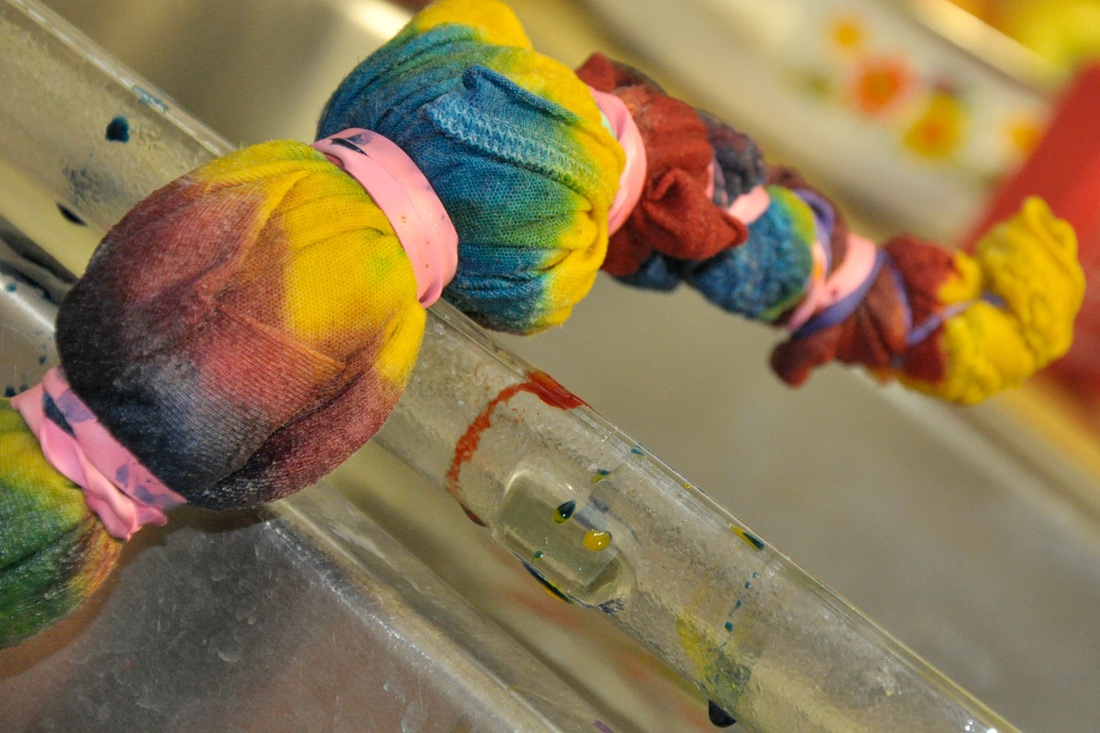 I used squirt bottles for the dye, I didn't put any water in there ACK!! Pop it in the microwave for 2 minutes, make sure nothing melts. 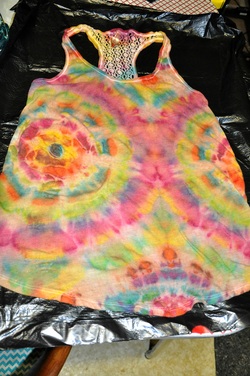 Here's my "muddy" dye. I should have rinsed it with the rubber bands still on by I took them off first......Goofy. I do like the design however :)
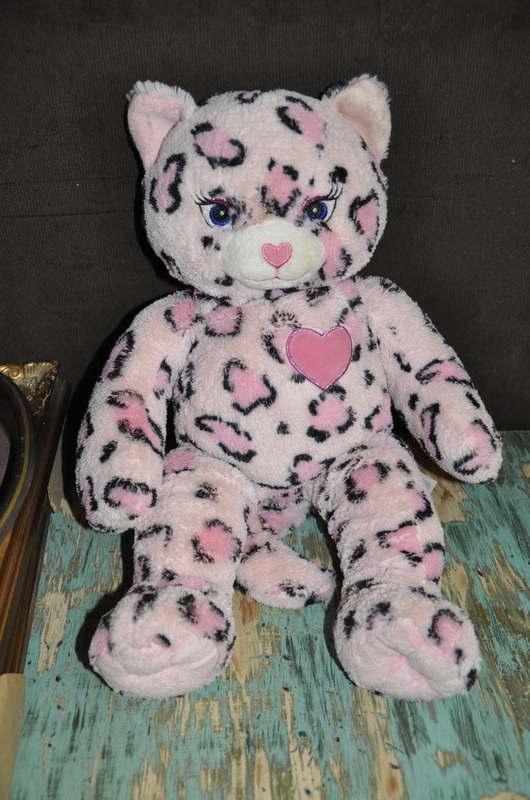
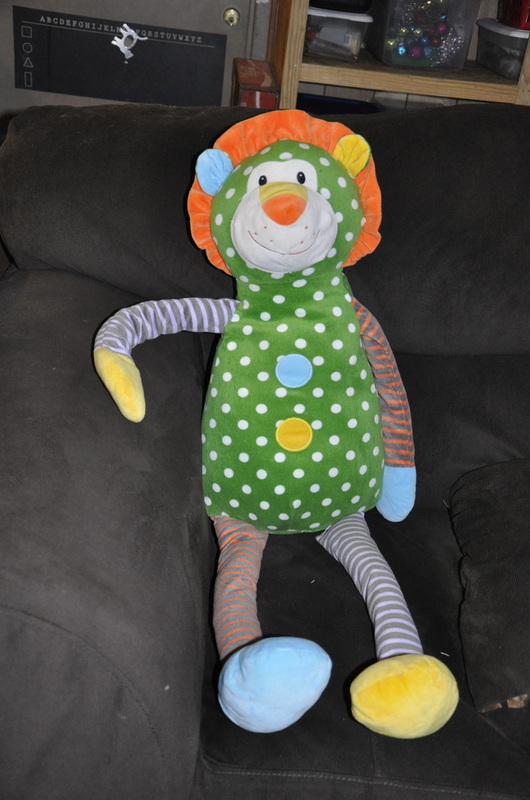
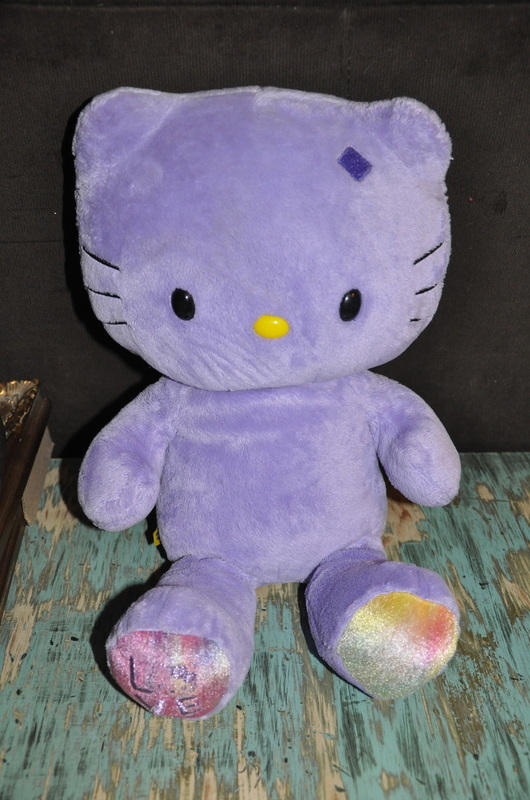
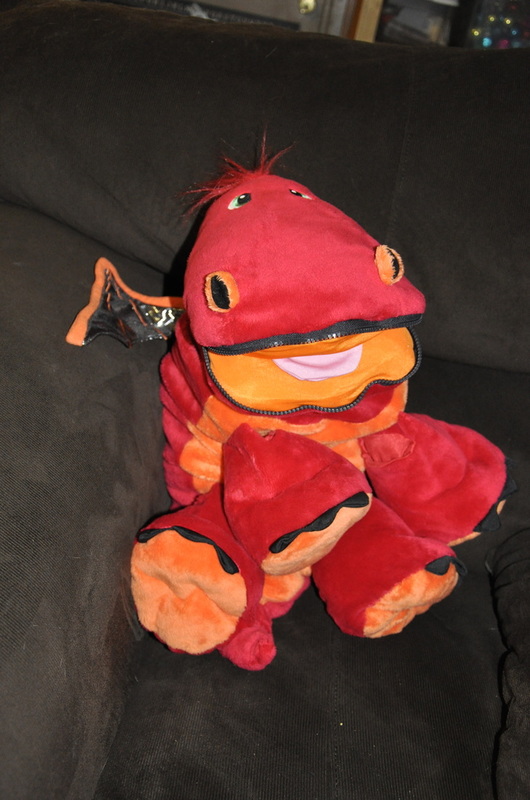
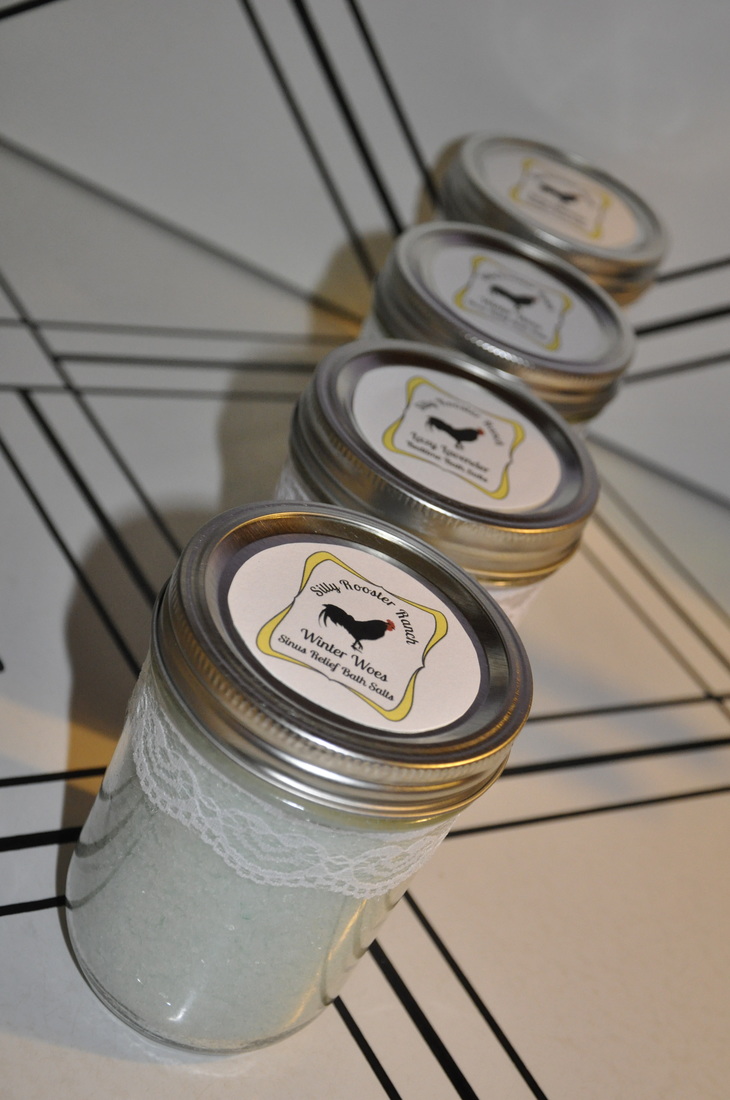
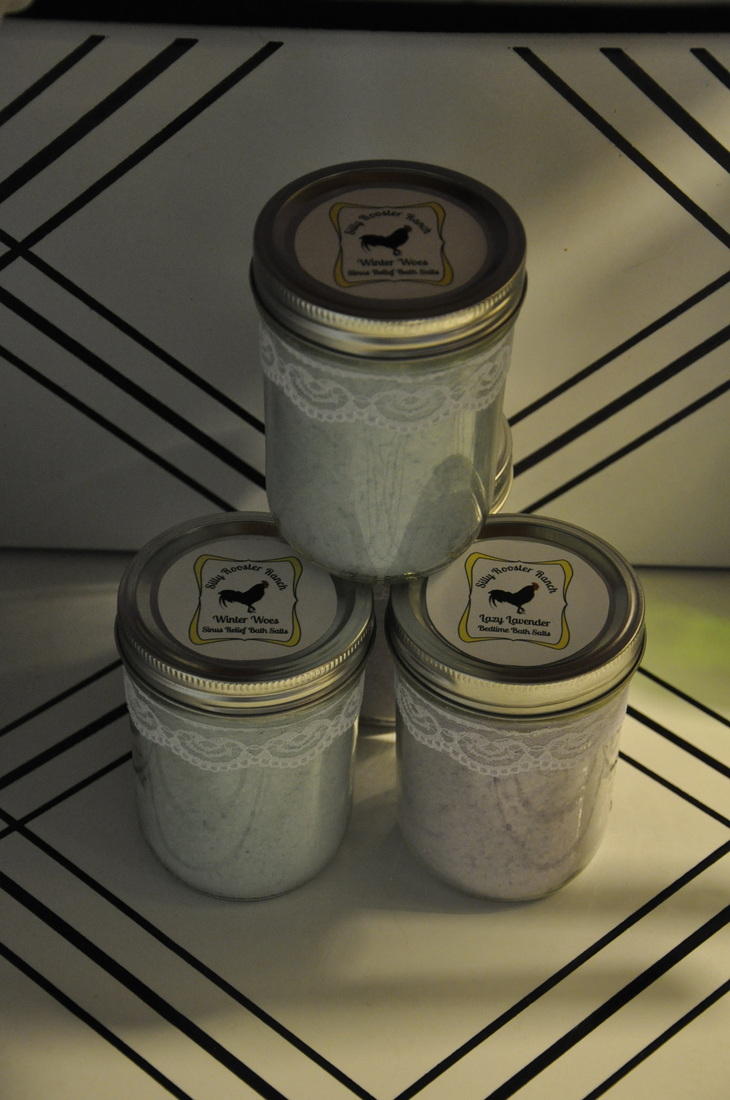
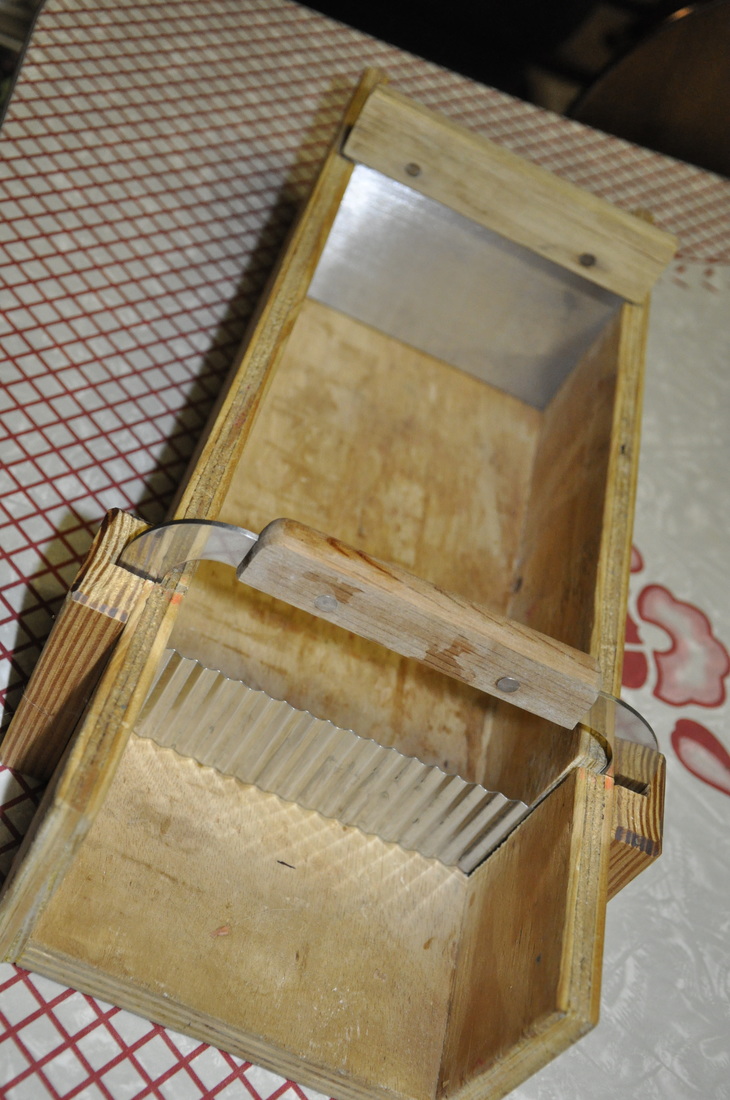
One reason I decided to make a blog is because I read a lot of blogs, the people always seem like me. Living pay check to pay check, trying to do a lot with a little, raising animals, kids and trying to have garden. Then SOMETIMES it turns out those people are millionaires and they are just trying to promote themselves as a small time do-it yourselfer. This makes me MAD. I don't like to waste my time reading your story and getting to "know you" just to find out you are a liar and your scissors suck (that's another story for when I have a camera, I feel my facial expressions are necessary to tell that story..........Pioneer woman.....ugh........). So to the point, I am not that kind of person, full disclosure, we make 400 bucks a week. I have lived on less and consider it to be pretty good. Our house is paid for so it goes a lot further than if we were making a payment. I have been eyeing the big bears (tigers, for that matter) at walmart. It is almost Valentines and I want to get my kids the BIG ones! They are 20 bucks each tho!! So that seems a little silly to spend 40 dollars on stuffed animals but I want too, I want to see them smile. If I spend 40 on stuffed animals I can't get them anything else, Madison is venturing into makeup and I wanted to make her a cute basket with things like that. Today I stopped by the Salvation Army ( I am not happy with their prices in general but today was nice) I got all 4 of these animals for 5 dollars! Whoopie! Lol, I normally pass the stuffed animals up because they are dirty looking but today there was quite a few nice ones. I will wash them anyway of course........but now I have Tom and Madison's Valentine and Easter stuffed animals bought 1/8 of what I was going to pay at Walmart for valentines alone. One is a "Stuffy?" you hide toys in it.....Madison looked at Toms and told me. 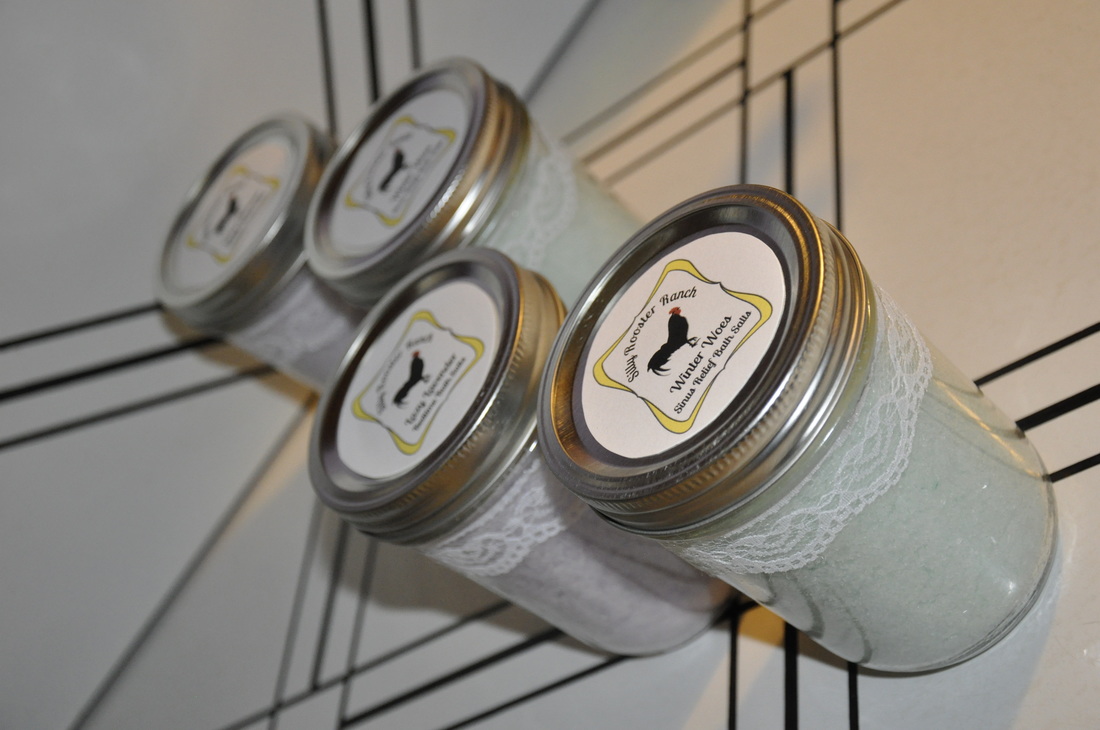 I like everyone to have something special for Christmas and I loathe the prepackaged "Oh I have to get a present in a hurry" area at walmart so I make presents. Tonight I'm making bathsalts, it's cold so that's my theme. I will be making Lazy Lavender bedtime bath salts and Winter Woes sinus relief bath salts. 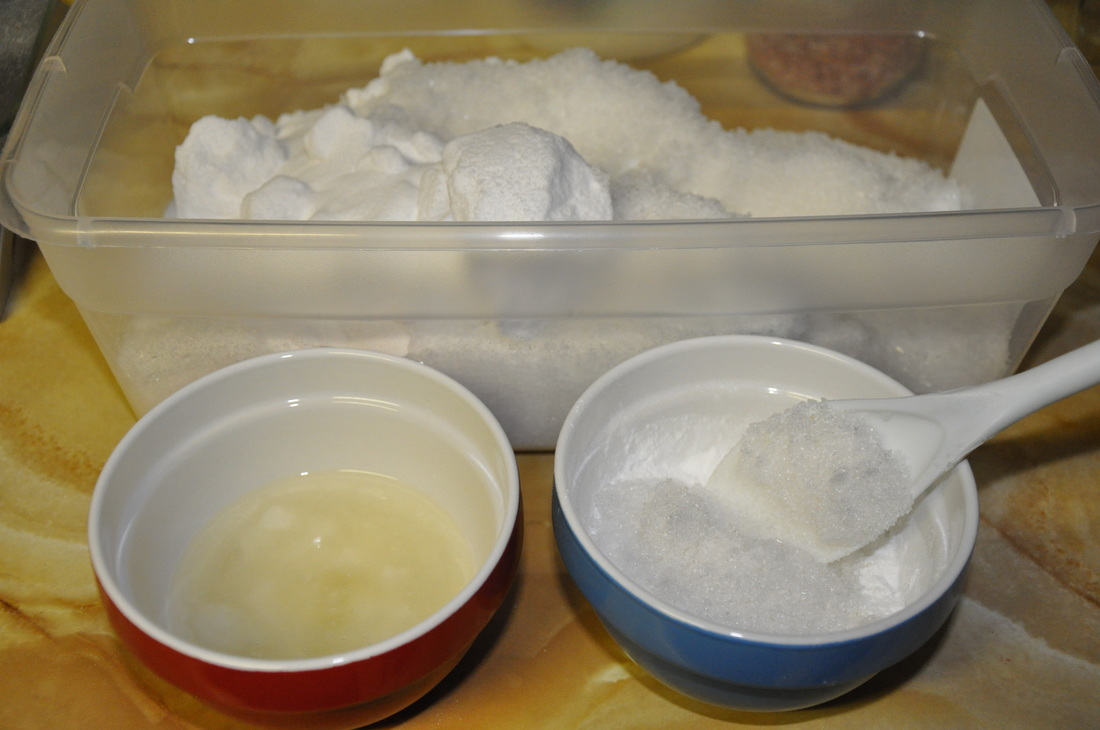 I start out by making a big container of "base" salt. My base salt recipe is as follows - 64oz Epsom salt, 12oz dead sea salt, 12oz dendritic salt and 2oz Tapioca powder. Mix all those ingredients and then pull some out and add 2.5oz melted coconut oil and .7oz optiphen. The reason I pull out a little bowl of "base" to mix the liquids with is because it is easiest for me to mix the them together and them mix that bowl with the whole container. Sometimes the liquids clump up and I don't want all my preservative to clump in one area, that would be no good. 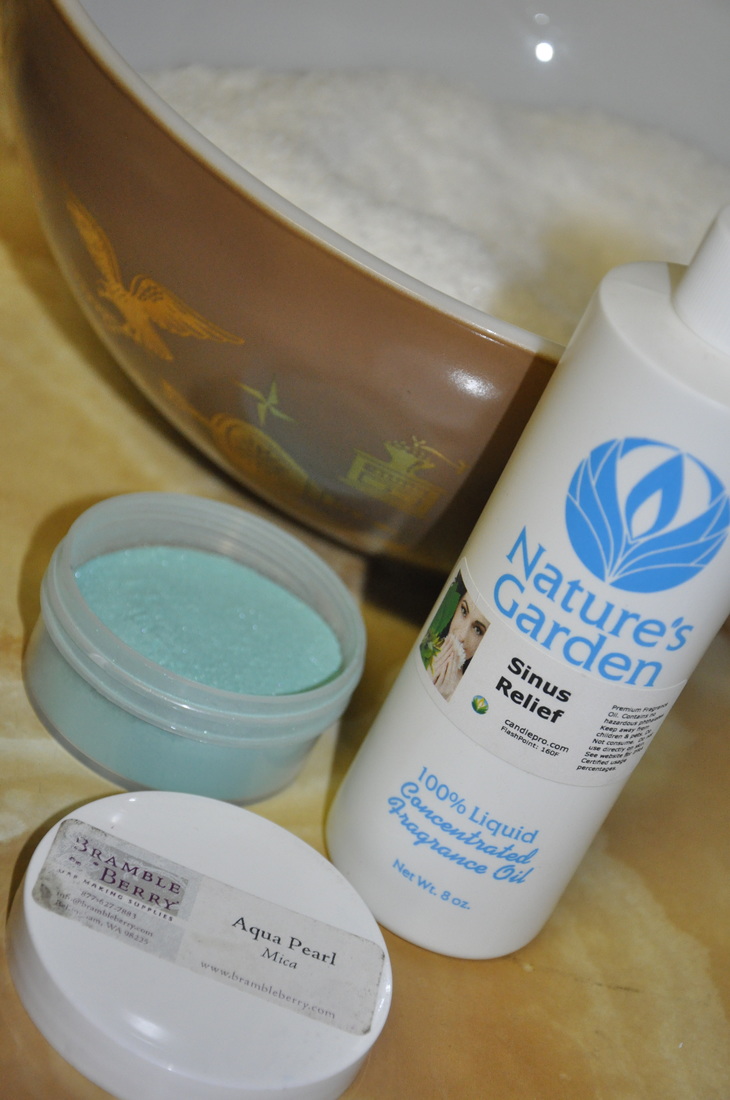 A pint jar holds about 13.5oz of this mixture. Pull out however much base you need and put it in a separate bowl. I am using Sinus Relief fragrance by Natures garden and aqua pearl mica by Brambleberry.  Weight your salt base and add 3% fragrance to that. You can add more or less, for this fragrance in particular this is a great amount. When adding colorants start out with a small amount and move up slowly. I find sprinkling it like this helps.  Fill jars and set aside. They are light green.........the flash says otherwise. 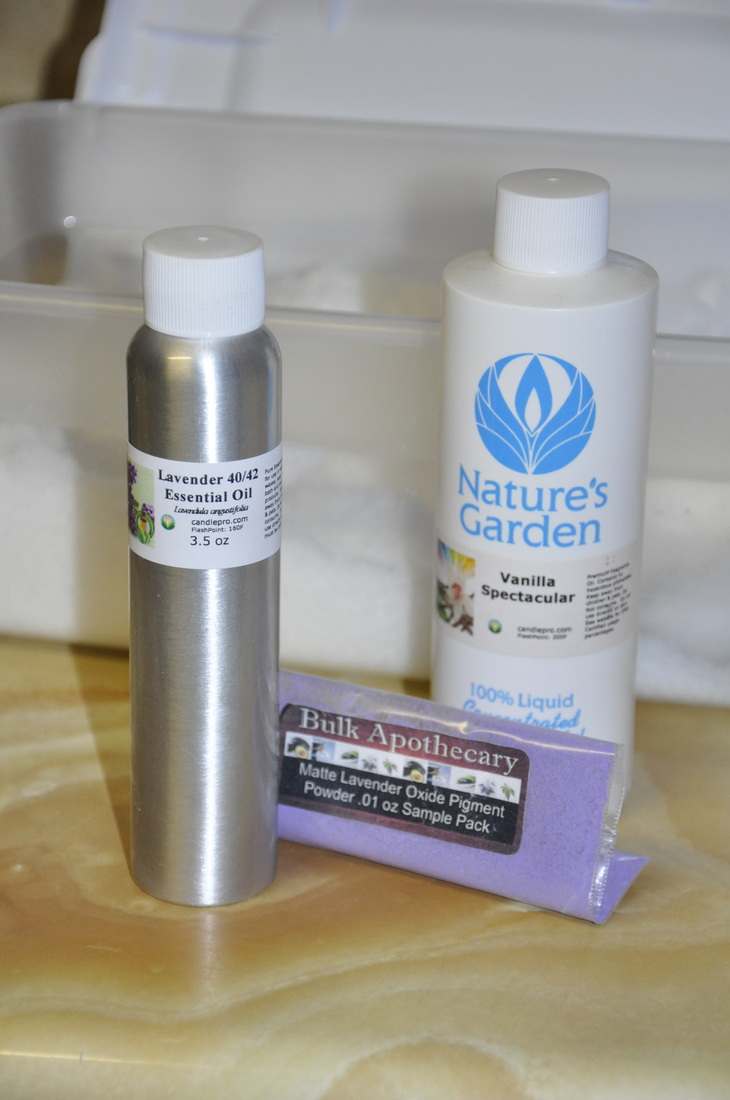 Lazy Lavender is next, pull out however much base and add your fragrances accordingly. I used Lavender 40/42 essential oil and Vanilla Spectacular from Nature's garden. I did end up throwing a tad of Brambleberrys Black Amber and Lavender at the end to deepen the scent. Fill jars and set aside.  Get out the fun stuff! 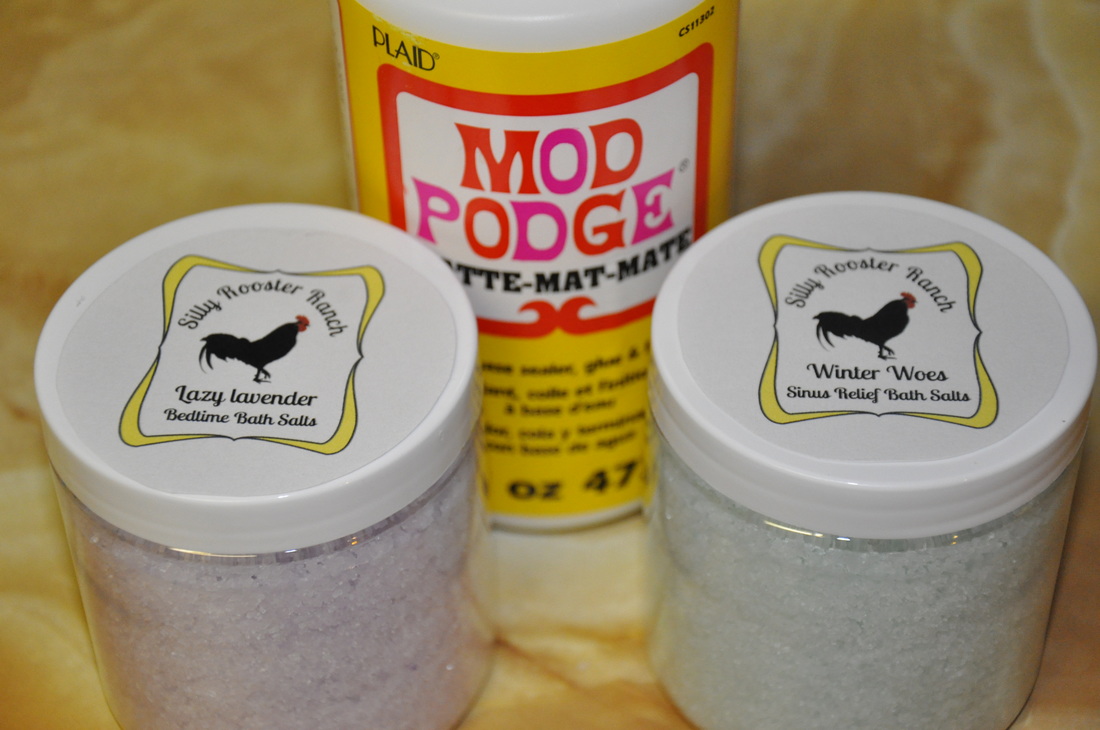 I printed my labels from Avery, it is free and very easy to use. I used Mod Podge to glue them to the tops which was a terrible idea because they just fell off........lol. Looks like I'll be using the glue gun for that too. Finished products :) These are for family so the labeling is different than for selling. I used mason jars for these and I would never use glass for selling either, below are some I made that will be shipped, they are plastic. 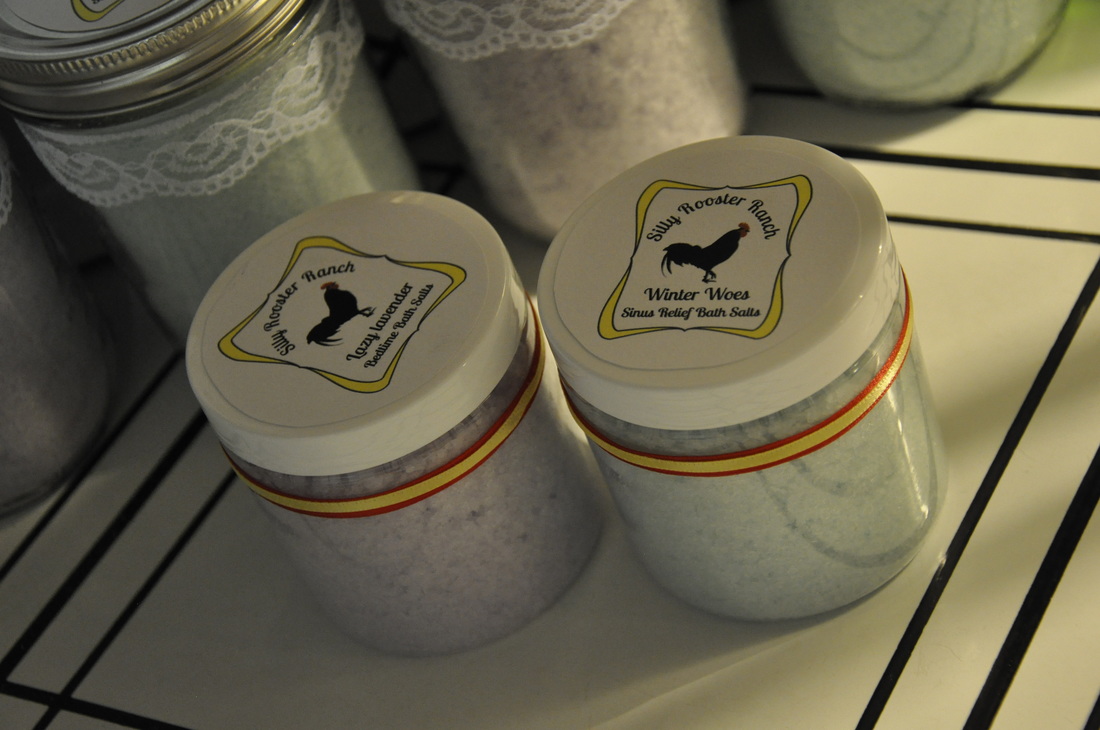 Water dispensable TD never fails, I have a HUGE bag and I have never regretted that purchase. Next was Blaze orange, mix with oil, I had to use more than I thought I should and still ended up with a light color but I am happy with it. Teal oxide, also a lighter color than I wanted, is it just me? Lol, mix that one with water, I tried oil first.....I can never remember! If you just love, love, LOVE any of these colors feel free to follow the links and get you some. 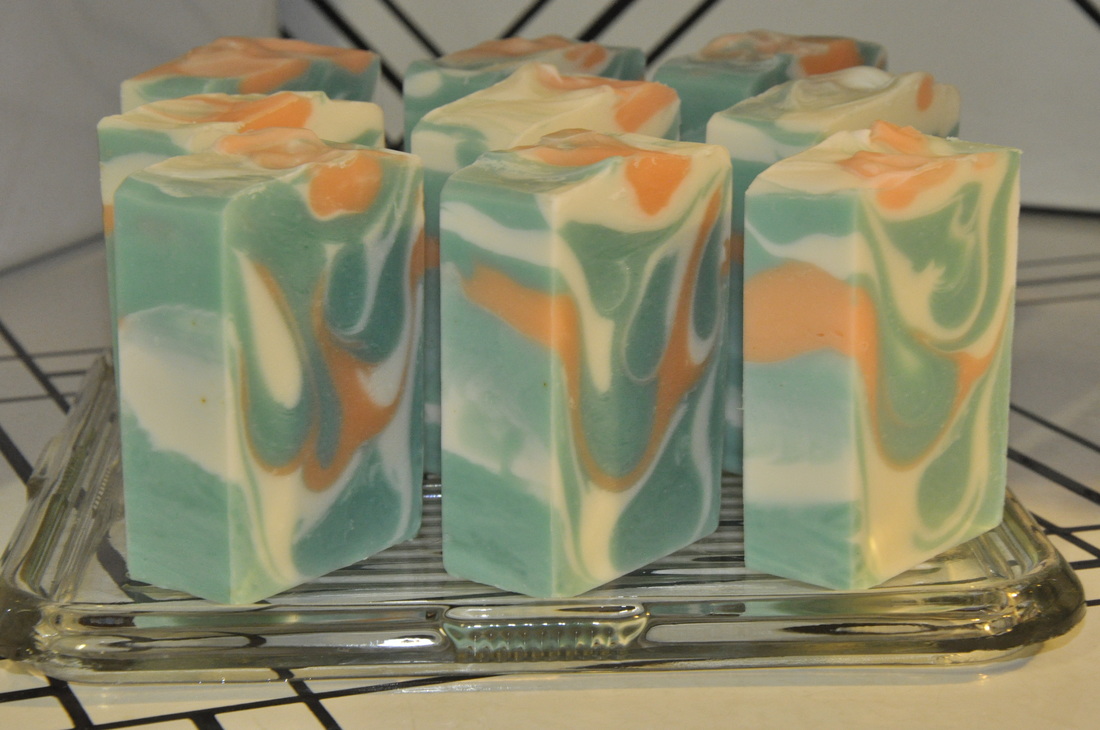 Hello! I am back and it's time to cut the soap. It came out SO dark. That's the fun thing about soap (and sometimes not so fun) but in this cause I'm happy because this soap looks like food and smells like it too. Now had I used blue to make "water" like a beach scene soap and it turned pink I would not be so happy. 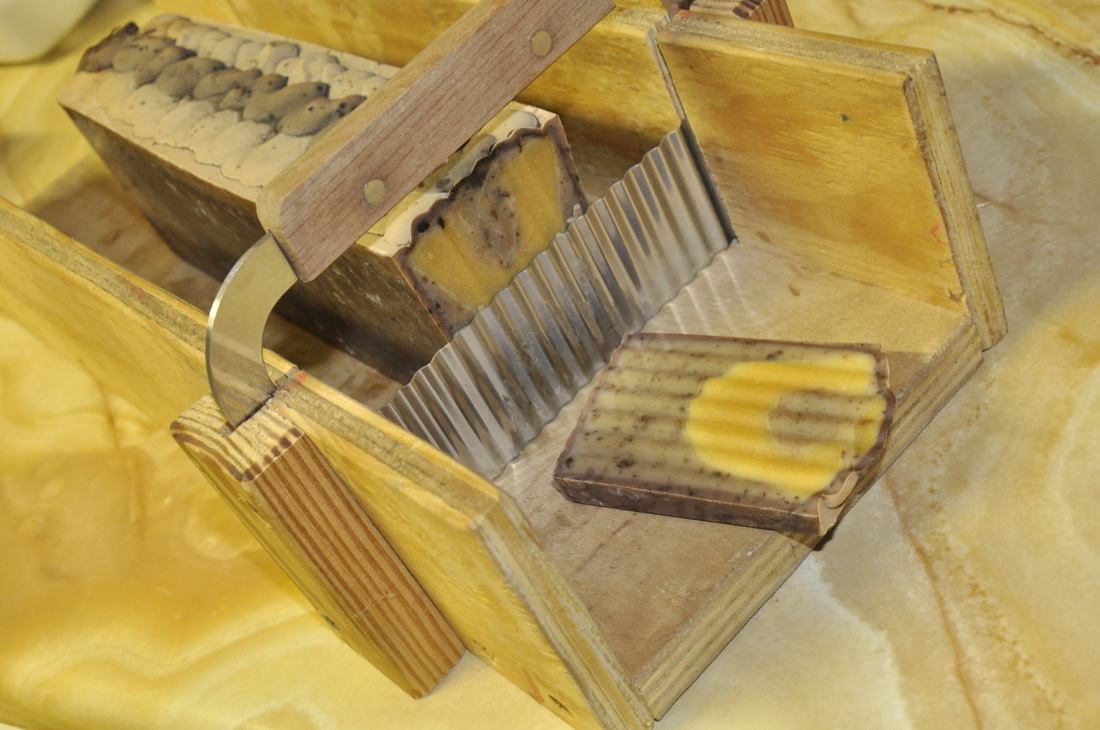 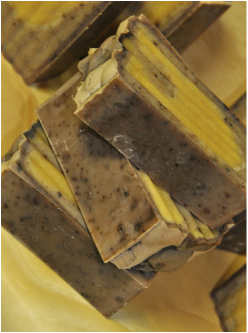 I decided to go with the crinkle cutter, my cutter is homemade and I have a crinkle blade and a smooth blade. Since this soap had walnut hull in it I chose the crinkle blade to help hid any "drags", that is when your blade gets stuck on something like a flower petal (or any additive) and it slides it down as it chops the soap and leaves a ugly crease down the bar. 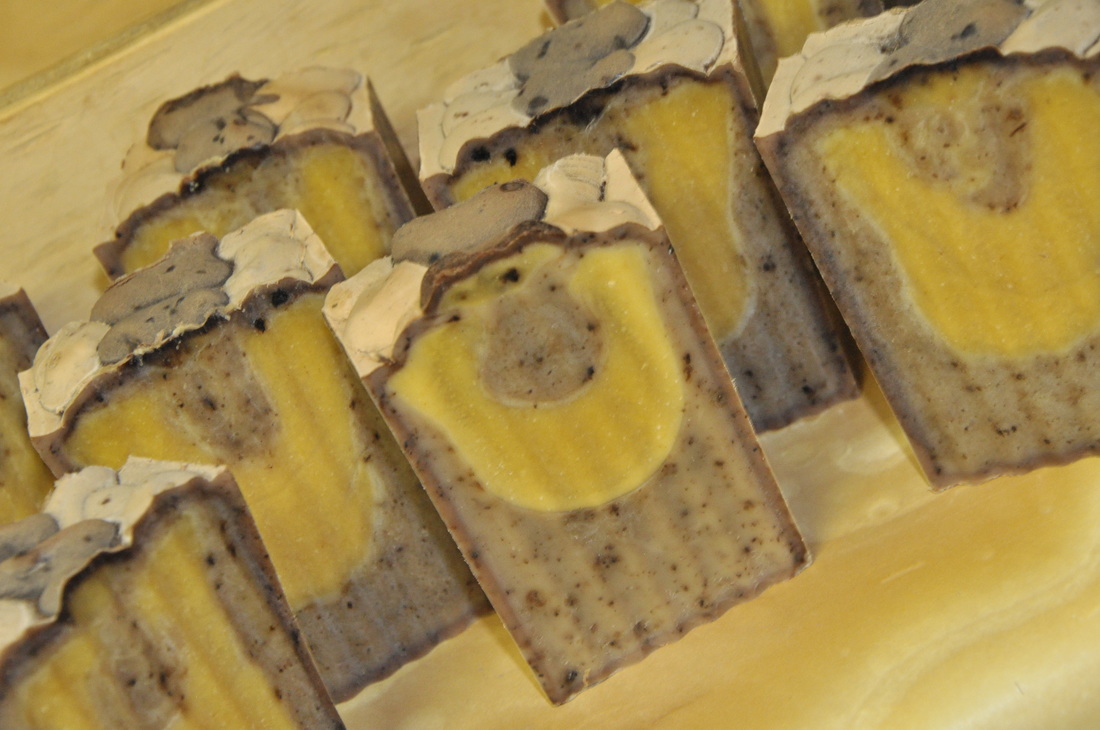 YUMMY, YUMMY, YUMMY, I want to eat you. One perk of soap making is the house smells wonderful. After cutting the soap into bars I put it in a cardboard box, I space the bars to let air flow around them. If you are making a large amount of soap it would be nice to have a rack to let them cure on. I used to have a rack but I don't make that much soap anymore. I am hiding these in a box because I have cats and these are for Christmas, no one wants a fur covered soap for Christmas.......except Mom, back when I made soap a lot she would come over and "drop" one accidentally and then assume she could have it because it had dents or dirt or other unwanted things......Soap Thief!
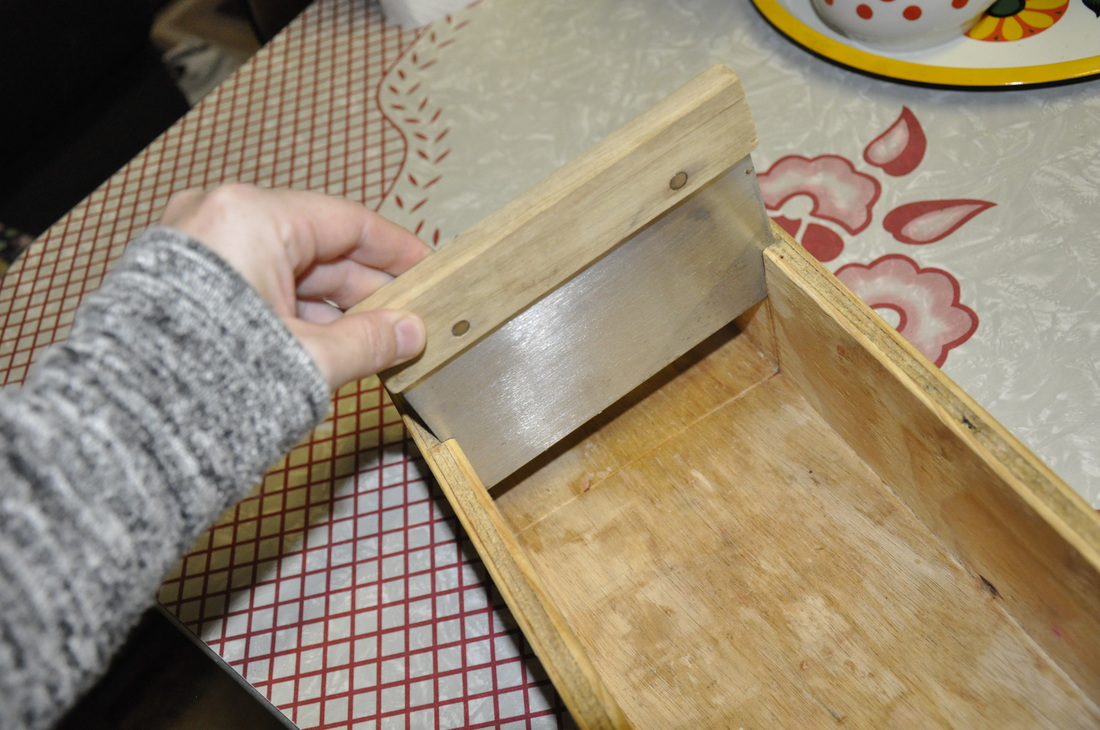
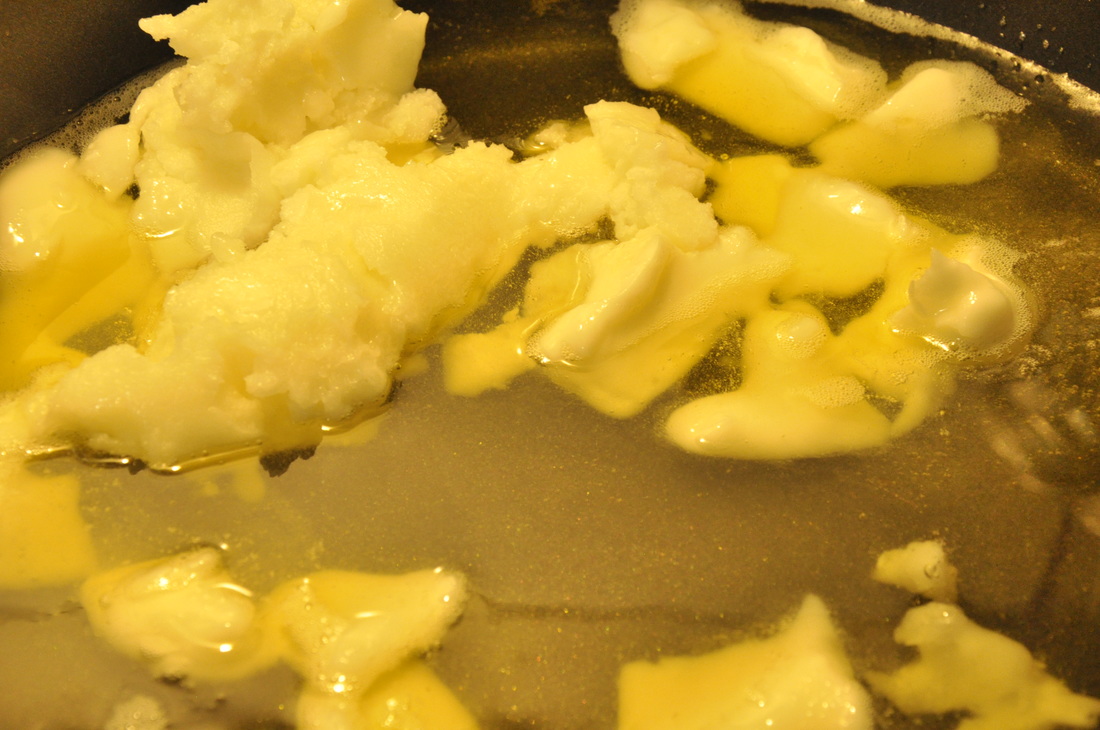
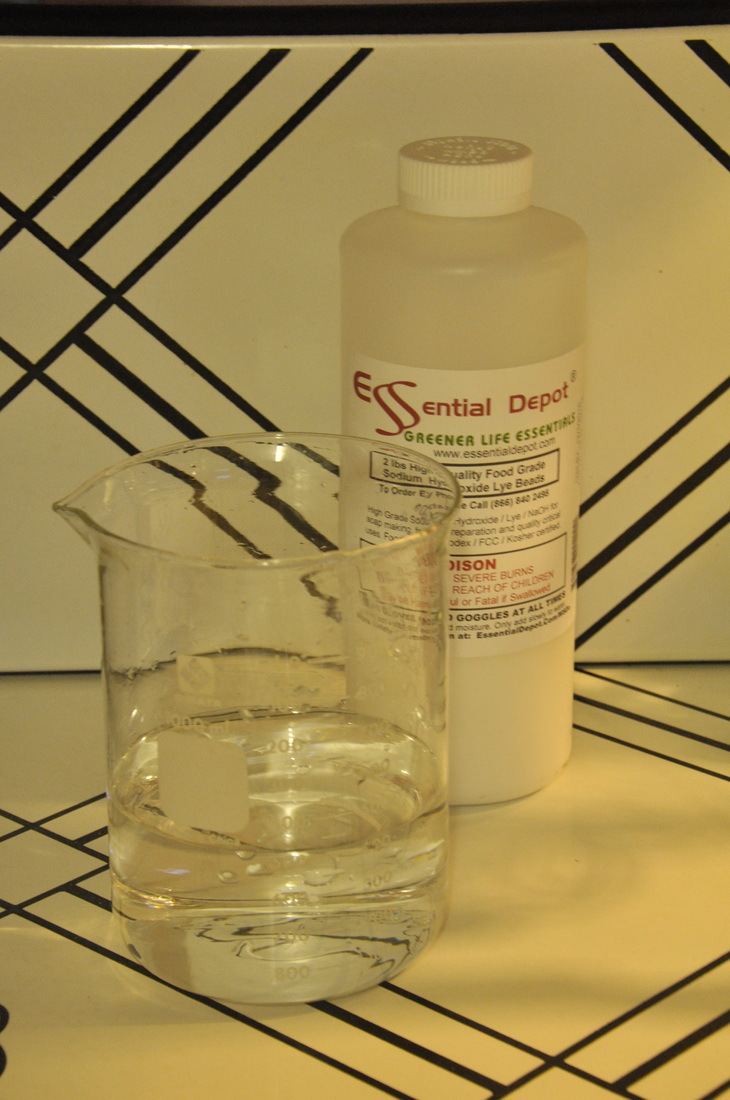
A soap cutter is pretty basic, you need a bottom board and 2 side boards. If your blade has a handle make sure the box is shorter than the height of the handle. Main thing is these little grooves for your blade to slide down in, it keeps your cut straight. That's all there is to it. 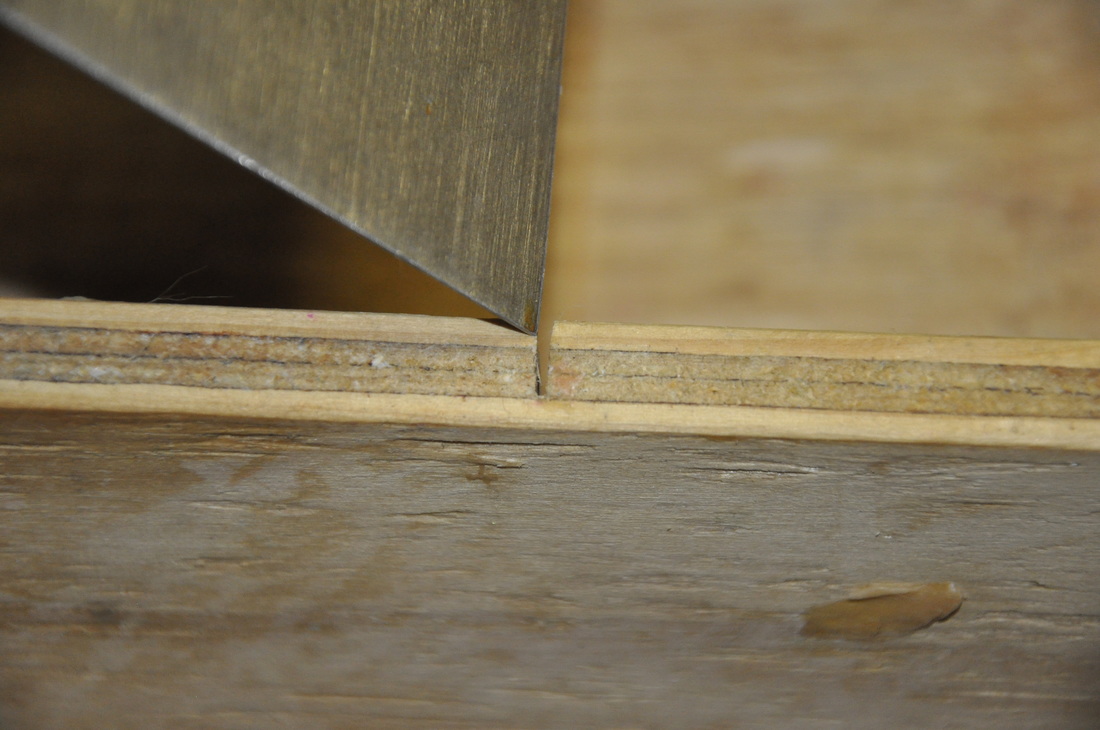 What do you need to make soap? Oil, lye, water and a scale. I made my first batch with just that, I didn't even have a stick blender (although I highly recommend one) I use soapcalc.net to make my "recipes". You need a certain amount of lye to each oil and every oil is different so you HAVE to use a soap calculator of some type or there might be left over lye in your final product and no one wants that. 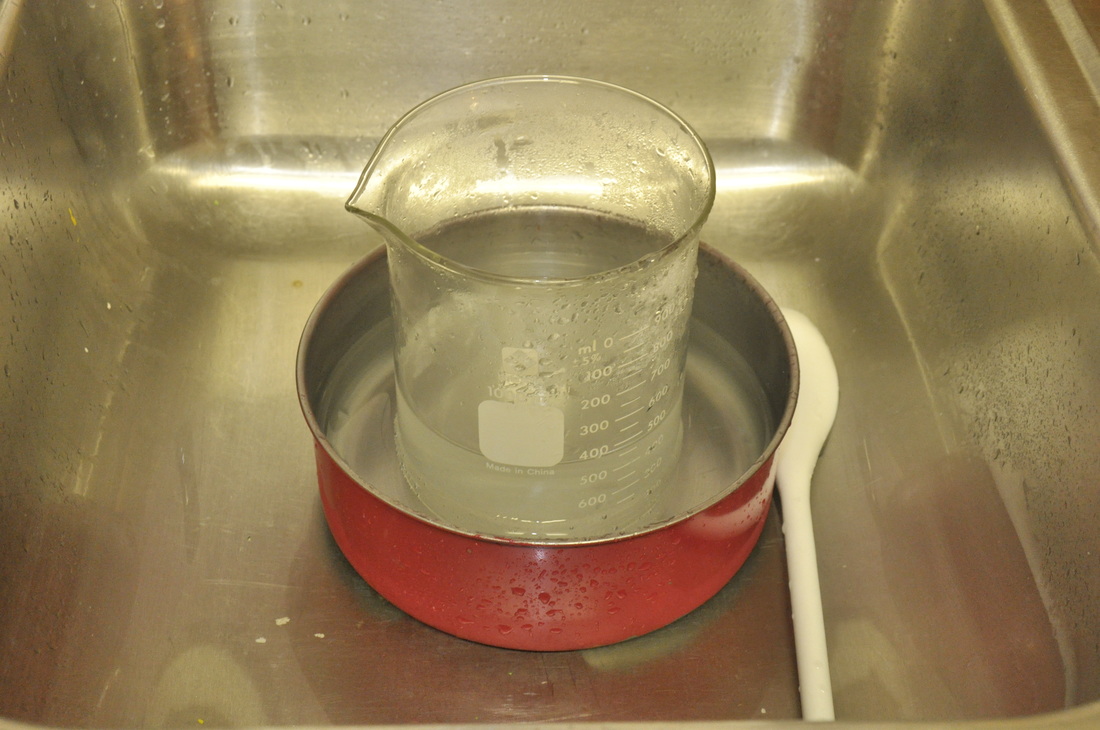 If you are starting out I would recommend using oils from your local grocery store, there's no reason to spend a lot of money.......you never know, you might mess up the first batch or two. Coconut, lard and olive are some pretty common ones and will make a good soap. First things first - measure your lye (I use Essential Depot) and measure your water. Put your water container in a "ice bath" I use a metal pan filled with ice and a beaker with my water inside (it has already melted in the picture above). Then add your lye, slowly, while stirring. There will be fumes and they will make you choke......wear a mask and gloves. Once it is mixed, leave it to cool. It is imperative that you leave this in a safe place. NO PETS. NO KIDS. NO SILLY HUSBANDS OR GOOFY FRIENDS. Just you and the dangerous lye water. 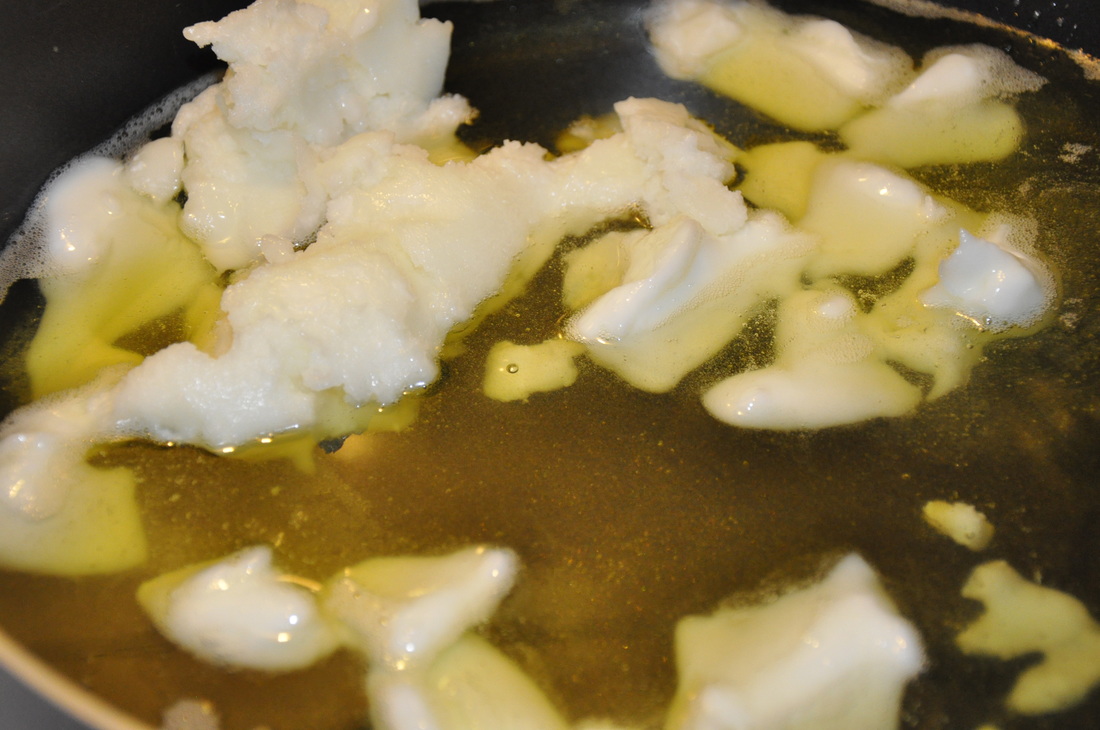 Measure your oils while your lye water cools. I heat my solid oils (coconut, lard, shea butter, cocoa butter) and leave my liquid oils in the container I plan to mix the soap batter in. Once heated add your hard oils to your liquid oils. Now you have a container of lye water cooling in the sink (or safe place) and a container of oils sitting on the counter. Leave them be. Next step.... 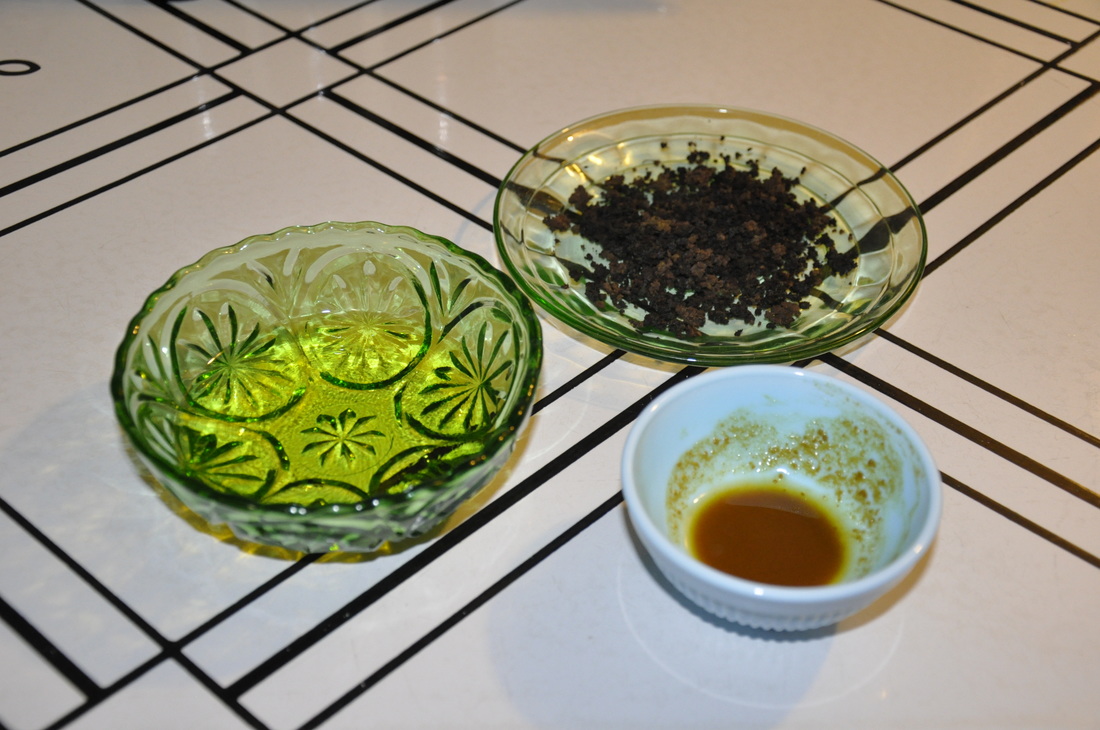 You can make plain unscented soap if you like, it will be gentle and wonderful but if your like me............It's time to get out some fun things! I really like the swirls and bright colors but I am keeping it calm for this how-to. Above I have bee pollen powder mixed with a dash of oil (for color), a bowl of fragrance oil and a plate of freshly grated black walnut hulls that I got form the front yard (isn't that fun!) If this is your first time some natural colors that you have laying around your house are cocoa, paprika and turmeric. You can use lavender buds, peppermint leaves, rose petals or coconut shreds for a little texture to your soap. You can even add baby food, pureed fruits or milk. They all have different benefits and they make soap making more tricky so stick with the simple things for now and we will land on trickier things later. Now you have your lye water in the sink (or safe place), a container with oils on the counter and any scents, colors or textures ready to use close by. We shall carry on! 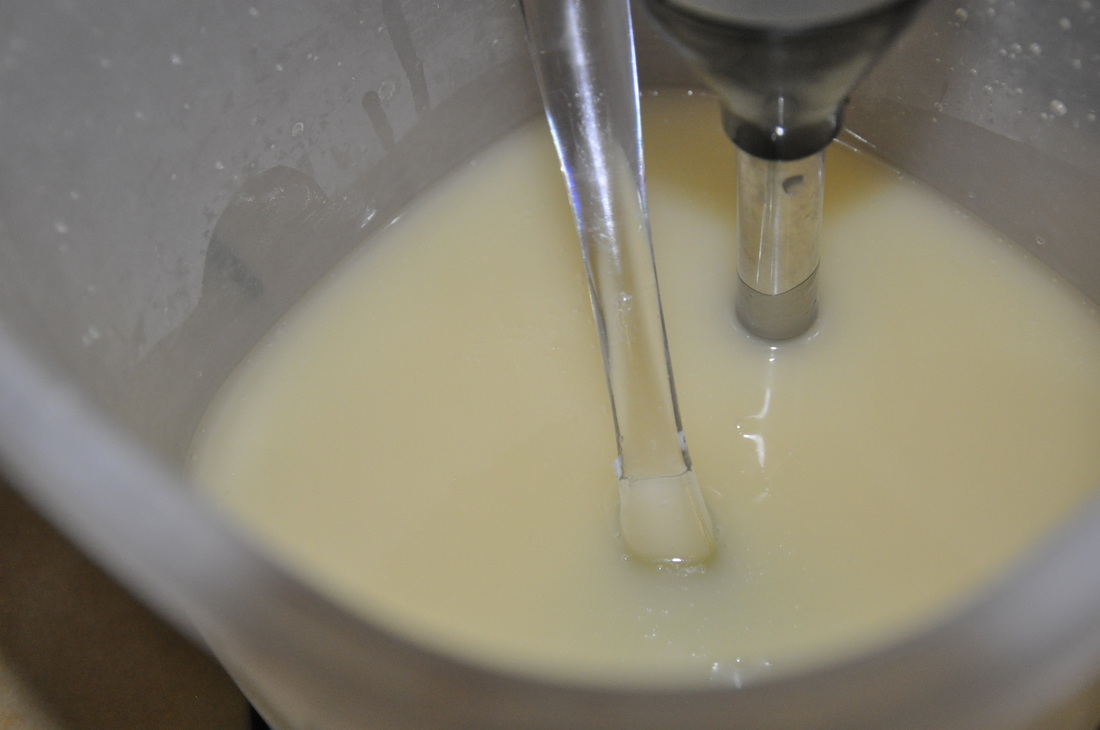 Carefully (with gloves) pour your cooled lye water into your oils. By now everything should be about the same temperature and you want it that way. Use your stick blender and get to "trace". Trace is when you can pull your spoon/blender/whatever out of the batter and as it drips off it will leave a trace of the drip on top of the batter for a bit. I don't go all the way until trace. The reason people tell you too when you start out is as follows.......Sometimes when you don't mix your batter enough it will separate out after you put it in the mold and that sucks. BUT when you want to do swirls, add hot fragrances and other tricky things you need your batter to be as thin as possible to start. You will be able to tell when it's completely combined and wont separate after some practice. If you can not get to trace don't freak out, some recipes don't trace quickly and some do. The main goal is to make sure your oils and lye water are not separating when you stop mixing. Now you have batter that is ready to work with and all your colors, fragrances and textures ready at hand! FORWARD MARCH! 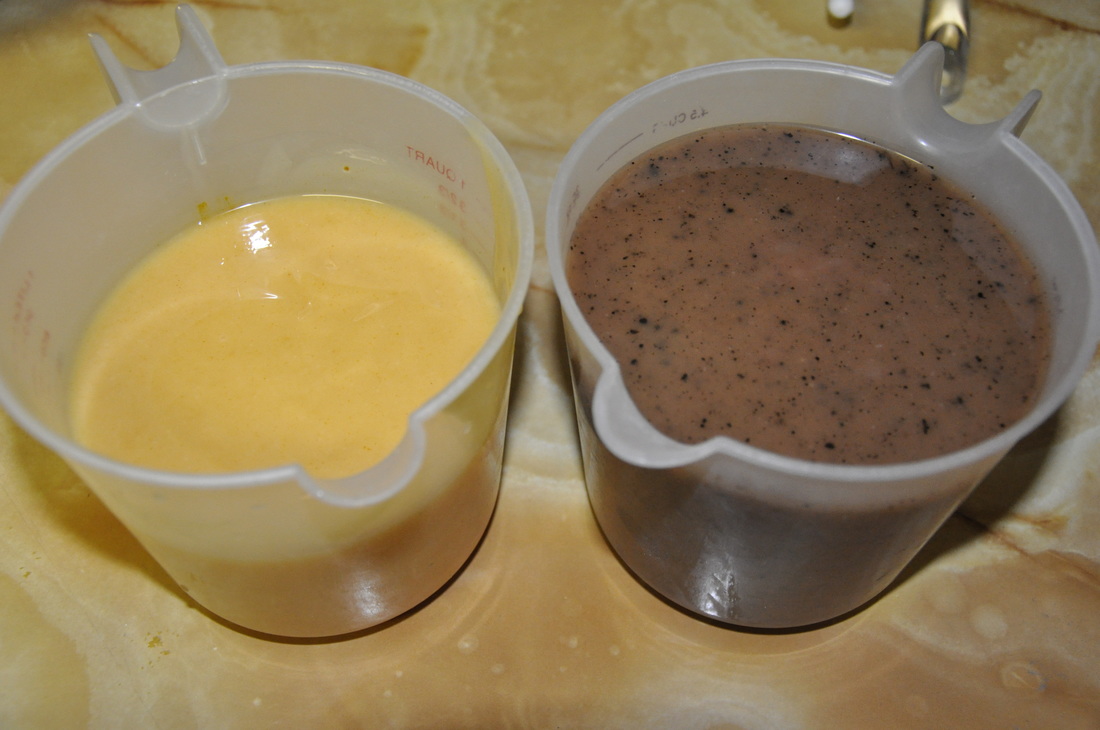 If you are making plain and simple soap this is where we part ways. I poured my first soap into a plastic Tupperware container and till this day it remains there........I could never get it out. I did manage to chip away at it with a knife........So you should have a mold, it can be as simple as a cardboard box lined with parchment paper or a forty dollar silicone mold (it's worth every penny, don't get the cheap china ones off ebay) Anyway.......If your getting crazy with it, let's continue. Above I have separated my batter in two, I added bee pollen powder to one half and black walnut hull to the other. Stir each with your blender. Then add the fragrance, I do this last because some fragrances can "seize". Seizes causes your soap batter to look like watery rice mess, you have to stir, stir, stir when this happens. Sometimes you have to let it sit and come back and stir. Most reputable soap sites will say in the description what each fragrance will act like in soap. READ THAT, I don't because I get super excited and buy things without thinking or reading and then ruin soap all day long........And now you have two containers of soap batter willing and ready to go in the mold! Onward we go.  Pour your batter into the mold. You can layer it, pout one on one side and one on the other. Make sure and write down the technique in which you pour, when you cut your soap and LOVE IT, you'll want to know how to do it again. I sit my soap mold in the oven when I am done. I have cats and they are allowed everywhere except in the oven so they are safe and the soap is safe with that arrangement. Feel free to put your soap in any kid proof, cat proof, goof proof place. And wait. AND WAIT. Don't touch it. I know that you want too. Leave it for two full days and then, if it is hard, you can touch it. If you are having problems getting it out of the mold (it's bending or just stuck) you can freeze it. I don't normally have to do this with loaf molds but I do a lot with smaller single bar molds. As of right now my soap is in the oven..........we will meet again.............in a few days, I will show you how to cut and cure your soap. Happy soaping.
|
Archives
March 2016
Categories |
 RSS Feed
